Let me introduce you to the world of screen printing – the original printing process for custom t-shirts and even retail T-shirt printing, you can’t help but admire these as a great finished product. This timeless art form has been captivating hearts for decades, it’s still a relative printing process and is as fresh and exciting as ever.
Whether you dream of being the next big thing in the art scene, want to create killer merch for your small business, or just want to have some T-shirts and apparel that standout with great designs, and you are looking to print small to large volumes, screen printing is the way to go!
When I first started to print T Shirts Screen printing opened up a whole new creative outlet for me. I was thrilled by the options for custom designs. It’s easy to get hooked once you learn the ropes!
Table Of Contents:
- What Is Screen Printing?
- How Screen Printing Works
- Screen Printing Equipment and Supplies
- Preparing Your Design for Screen Printing
- The Screen Printing Process Step-by-Step
- Tips for Successful Screen Printing
- Screen Printing on Different Materials
- Finding a Reliable Screen Printing Service
What Is Screen Printing?
Screen printing has a rich history that dates back over a thousand years to ancient China during the Song Dynasty. Skilled craftsmen used silk stencils to transfer intricate designs onto fabrics. Fast forward to the 1900’s, and screen printing made its way to Europe.
The printing technique of Screen printing in its current form has been around since the early 1960’s. It’s a process where ink is pushed through a mesh screen onto a surface, creating a design. The process is pretty simple, but the results are amazing and durable. You can print on just about anything t-shirts, posters, even stubby coolers. And the best part? It’s cost-effective for large quantities. That’s why so many businesses use screen printing for their promotional materials.
How Screen Printing Works
Lets now go over how it works: you create a stencil of your design on a fine mesh screen. Then, you apply ink to the screen and use a squeegee to push the ink through the mesh onto your surface.
The ink only goes through the areas where the stencil has been cut out, creating your design. You can use multiple screens to create multi-color designs. Each color gets its own screen and is applied one at a time. It’s a bit like painting by numbers, but with ink and screens instead of paint and a canvas.
Benefits of Screen Printing
So why choose screen printing over other printing methods? For starters, it’s incredibly versatile. You can print on all sorts of materials, from cotton t-shirts to bags to cardboard signs. It’s also great for large orders. Once you have your screens set up, you can print hundreds or even thousands of items relatively quickly and cheaply.
That’s why so many businesses use screen printing for their branded merchandise. Plus, screen printed designs are durable. The ink is actually pushed into the fabric or material, rather than just sitting on top of it. That means your design will last through plenty of washes and wear and tear.
Types of Screen Printing
There are a few different types of screen printing to choose from. The most common is spot color printing, where each color in your design is printed using a separate screen. This is great for designs with just a few colors.
If you have a more complex design with lots of colors or gradients, you might opt for halftone printing. This process uses tiny dots to create the illusion of more colors and shades. It’s kind of like how a newspaper photo is made up of tiny black dots, but with colors.

Screen Printing Equipment and Supplies
If you’re thinking about trying your hand at screen printing, you’ll need some specific equipment and supplies. Don’t worry, you don’t need a huge factory – you can actually set up a small screen printing operation in your own home or garage.
Screens and Frames
First, you’ll need screens. These are made of a fine mesh fabric stretched tightly over a frame. The mesh size is important – a higher mesh count means finer details in your print, but it also means the ink will be thinner on your final product.
For most projects, a mesh count between 110-160 works well. If you’re printing on rougher surfaces like canvas bags, you might go for a lower mesh count around 80-86.
Inks and Additives
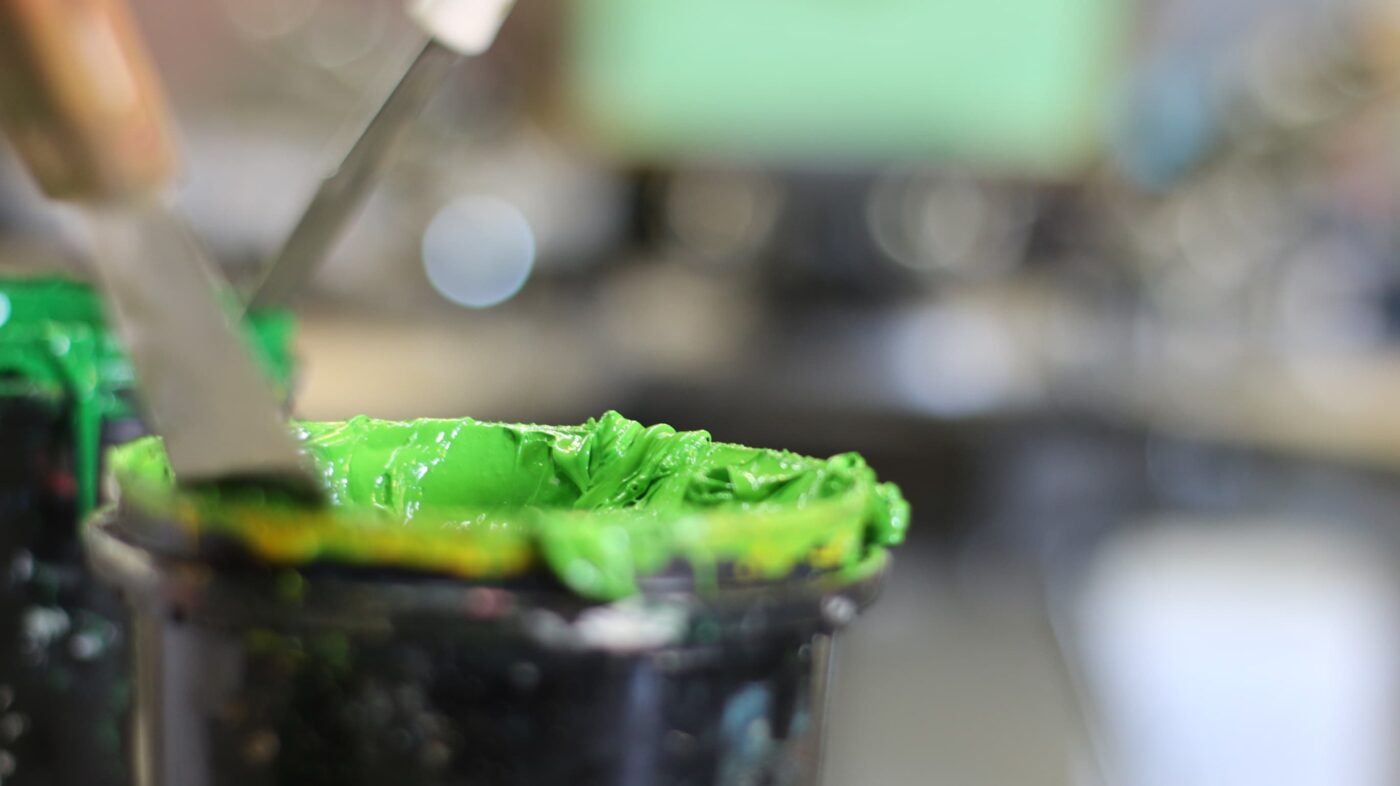
Next up, inks. Screen printing inks are a bit different than your standard ink. They’re thicker and more opaque, so they sit on top of your fabric rather than soaking in. You can get inks specifically formulated for different materials, like fabric, plastic, or paper.
You might also use additives in your ink, like print paste to thicken it or retarder to slow down the drying time. These help you get the perfect consistency and prevent the ink from drying in your screen mid-print.
Squeegees and Presses
To actually get the ink through your screen and onto your item, you’ll need a squeegee. This is a rubber blade that you drag across your screen to push the ink through. They come in different durometers, or hardnesses – a harder squeegee will deposit less ink for a sharper print, while a softer one will lay down more ink for a thicker, more opaque print.
You’ll also need a way to hold your screen in place while you print. For smaller projects, you can use a hinge clamp to attach your screen to a table. For larger production runs, you might invest in a screen printing press that holds multiple screens and rotates between them for faster printing (commonly called a Carousel).
Drying and Curing Equipment
After you’ve printed your design, the ink needs to dry and cure. For some inks, air drying is enough. Others need heat to fully cure and set the ink. You can use a heat gun, flash dryer, or conveyor dryer to cure your prints, depending on your production volume.
Preparing Your Design for Screen Printing
Before you can start printing, you need to get your design ready for the screen. This process is called pre-press, and it’s crucial for getting a good print.
Choosing the Right Artwork
Not all designs will work well for screen printing. Intricate details, small text, and gradients can be tricky to reproduce with screens. Bold, simple designs with solid colors tend to work best. If you’re designing something specifically for screen printing, keep your color palette limited. Each color will need its own screen, so more colours means more setup time and cost.
Separating Colours for Screen Printing
Speaking of colors, you’ll need to separate your design into individual colour layers for printing. This process is called colour separation, and it’s how you create the stencils for each screen. There are a few ways to do this. You can use software like Adobe Illustrator or Photoshop to manually separate your colors. Or, you can use specialised color separation software that automatically detects and separates the colors in your design.
Creating Transparencies
Once you have your colour separations, you’ll print each one out onto a transparency. These are clear sheets of plastic that you’ll use to create your screen stencils. It’s important to use high-quality transparencies and to print them with a laser printer or photocopier. Inkjet prints can be too translucent and might not block out the light properly when you’re exposing your screens.
Exposing Your Screens
To create your screen stencils, you’ll coat your screens with a light-sensitive emulsion. Then, you’ll place your transparency on top of the screen and expose it to bright UV light. The areas of the screen that are covered by the black parts of your transparency will not allow the emulsion to set. The clear areas will let light through, hardening and setting the emulsion. When you rinse your screen, the unhardened emulsion will wash away, leaving a stencil of your design.
The Screen Printing Process Step-by-Step
Alright, you’ve got your screens, your ink, and your item to print on. Let’s walk through the actual printing process step by step.
Preparing the Screens
First, you’ll need to set up your screens on your press or hinge clamps. Make sure they’re tight and level – any wobbling or unevenness will show up in your print. If you’re using a press, you’ll also need to register your screens. This means aligning them so that each colour in your design prints in the right spot. Most presses have built-in registration systems to make this easier.

Mixing Inks
Next, mix your inks. If you’re using multiple colors, make sure to mix enough of each colour to complete your print run. It’s better to mix too much than too little – running out of ink mid-print is a pain. If you’re adding any additives to your ink, like retarder or thickener, mix those in now too. Stir your ink thoroughly to get an even consistency.
Registering the Screens
If you’re using a press, double check your registration before you start printing. Print a test print on a scrap piece of fabric or paper to make sure all your colours line up correctly. If you’re using hinge clamps, you’ll need to register your screens as you go. Print your first colour, then line up your second screen to print in the right spot. It takes a bit of practice to get it perfect.
Printing the Shirts
Time to print. Place your shirt or item on your printing platen and smooth it out. You want it to be flat and wrinkle-free. Load your ink onto your screen. For a standard t-shirt print, a couple spoonfuls of ink at the base of your screen should do it. Use your squeegee to spread the ink across the screen in a smooth, even layer.
Then, holding your squeegee at a 45-degree angle, drag it firmly down your screen. The ink will be pushed through the stencil onto your shirt. Make sure to apply even pressure for a consistent print. Lift your screen and voila – your first colour is printed. If you’re printing multiple colours, let the first colour dry slightly before moving on to the next screen. Repeat the process for each color in your design.
Drying and Curing
Once all your colors are printed, it’s time to dry and cure your print. For some water-based inks, you can hang your shirts to air dry. For plastisol inks, you’ll need to cure them with heat. Use a heat gun, flash dryer, or conveyor dryer to heat your print to the appropriate temperature for your ink. This helps the ink fully set into the fabric for a long-lasting print.
And there you have it – a custom screen printed shirt, made by you. With a little practice, you’ll be churning out professional-quality prints in no time.
Tips for Successful Screen Printing
Like any craft, screen printing has a bit of a learning curve. Here are a few tips to help you get the best results from your prints.
Choosing the Right Mesh Count
The mesh count of your screen determines how much detail you can print and how thick your ink deposit will be. A higher mesh count (like 200 or above) will give you finer details but a thinner ink layer.
A lower mesh count (like 110 or below) will give you a thicker ink deposit but less detail. For most standard t-shirt prints, a mesh count between 110-160 works well. If you’re printing fine details or halftones, you might go up to a 200 or even 305 mesh count. For specialty inks or printing on rougher fabrics, a lower mesh count around 80-86 can work better.
Proper Ink Consistency
Getting your ink consistency right is key to a good print. If your ink is too thick, it won’t pass through the screen easily and you’ll get a patchy, uneven print. If it’s too thin, it might bleed or not give you enough opacity.
The right consistency depends on your ink type and what you’re printing on. Generally, you want your ink to be smooth and creamy, not runny or clumpy. You can use additives like thickener or retarder to adjust the consistency if needed.
Accurate Registration
If you’re printing multiple colours, accurate registration is crucial. This means making sure each color prints in exactly the right spot in relation to the others. If your registration is off, your design will look blurry or misaligned. Take the time to properly set up and register your screens before you start printing.
Use registration marks on your transparencies and screens to help you line everything up. And always do a test print to check your registration before you start your full run.
Curing Techniques
Proper curing is essential for the longevity of your print. If your ink isn’t fully cured, it might wash off or crack over time. Different inks have different curing requirements.
Plastisol inks need to reach a certain temperature to fully cure, usually around 160°C. Some Water-based and discharge inks air dry, but might need an additive or a heat press to become fully set and wash fast.
Always follow the curing instructions for your specific ink type. Use a digital thermometer or temperature strips to ensure your prints are reaching the right temperature for the right amount of time.
Screen Printing on Different Materials
One of the great things about screen printing is its versatility. You can print on all sorts of materials, not just t-shirts.
Printing on Cotton, Polyester, and Blends
For apparel printing, you’ll most commonly be working with cotton, polyester, or a blend of the two. Each fabric type has slightly different printing requirements.
Cotton is a natural fiber that absorbs ink well. It’s easy to print on and gives you a soft, breathable final product.
Polyester is a synthetic fiber that doesn’t absorb ink as readily. It will be trickier to print on, but if you get the process right it’s great for athletic wear or anything that needs to be moisture-wicking.
Blends are a mix of cotton and polyester (or sometimes other fibers like rayon). They can give you the best of both worlds – the printability of cotton with the performance of polyester.
Just make sure to use an ink that’s formulated for the material that you are printing onto.
Screen Printing on Non-Apparel Items
Screen printing isn’t just for clothes. You can print on all sorts of non-apparel items too, like: – Paper products (posters, cards, flyers) – Plastic items (signs, bottles, cups) – Wood products (signs, coasters, boxes) – Glass (cups, bottles, windows) – Metal (signs, tins, promotional items).
The key is to use an ink that’s formulated for your specific substrate. There are screen printing inks made for printing on paper, plastic, wood, glass, and metal. These inks are formulated to adhere to these surfaces and withstand their intended use.
Specialty Inks for Different Surfaces
In addition to standard plastisol and water-based inks, there are all sorts of specialty inks you can use for different effects and surfaces. Here are a few examples: –
Discharge ink: This ink actually removes the color from your fabric, leaving a soft, vintage-style print. Great for printing on dark garments. –
Metallic ink: Want a shiny, reflective print? Metallic inks contain actual metal particles for a sparkly effect.
Puff ink: This ink expands when heated, creating a raised, 3D texture on your print.
Glow-in-the-dark ink: Just like it sounds, this ink charges in light and glows in the dark.
Glitter ink: For a sparkly, textured effect, glitter inks contain actual glitter particles. These are just a few examples – there are specialty inks for all sorts of unique effects.
Experimenting with different ink types can really expand your creative possibilities with screen printing.
Finding a Reliable Screen Printing Service
If you’re not ready to dive into screen printing yourself, you can always work with a professional screen printing service. But how do you find a reliable one? Here are a few tips.

Researching Local Screen Printers
Start by searching for screen printers in your area. Look for ones that specialise in the type of printing you need, whether that’s t-shirts, posters, or promotional items. Check out their website and social media to get a feel for their work and their customer service. Look for reviews and testimonials from past clients.
Evaluating Print Quality and Customer Service
Once you’ve found a few potential printers, reach out to them for quotes and ask if they have samples available. A good screen printer should be happy to show you an examples of their work and answer any questions you have about their process.
Pay attention to the quality of their prints. Are the colors bright and true? Is the print crisp and well-registered? Is the ink properly cured and wash fast? Also consider their customer service. Do they respond promptly to your inquiries? Are they helpful and knowledgeable? A good printer should be a partner in bringing your vision to life.
Comparing Prices and Turnaround Times
Of course, price is a factor too. Get quotes from a few different printers to compare. Keep in mind that the lowest price isn’t always the best deal – a slightly higher price might be worth it for better quality and service.
Also ask about turnaround times. When do you need your prints by? Can the printer accommodate your timeline? Rush jobs will normally incur additional fees, so plan ahead if possible.
Screen printing is a versatile and cost-effective method for creating custom designs on various materials, perfect for businesses or personal projects. It involves pushing ink through a mesh screen to transfer your design onto the surface. This technique allows for high-quality, durable prints in large quantities at a low cost.
Setting up requires specific equipment like screens, inks, squeegees, and curing tools but can be done even in small spaces. With practice, you can produce items ranging from t-shirts to posters with professional finishes.
To get started, choose simple designs with limited colors as each color needs its own screen. Prepare your artwork carefully by separating colors and using transparencies for stencils. Accurate registration ensures multicolor designs align perfectly.
The right mesh count of the screen is crucial—higher counts capture fine details while lower counts are better for thicker ink application on rough surfaces. Ink consistency matters too; it should be neither too thick nor too thin to ensure smooth passage through the mesh without bleeding.
Curing the ink properly guarantees that your design will last long without fading or washing out. Screen printing offers endless possibilities beyond fabric—you can print on paper, plastic, wood, glass, and metal. This versatility makes it a preferred method for various applications across many industries.
Using Screen Printing for Your Business or Event
Screen printing isn’t just a fun hobby – it can also be a powerful tool for your business or event. Whether you’re looking to create promotional gear, work uniforms, boost your brand awareness, or print for special events, screen printing offers a cost-effective and versatile solution.
Promotional Gear
Promotional products are a great way to get your brand noticed. Screen printing allows you to create eye-catching designs on various items like t-shirts, tote bags, and caps. These items can be given away at trade shows, conferences, or as part of a marketing campaign. Custom-printed gear helps your brand stay top-of-mind with customers and prospects. Plus, it provides a tangible reminder of your business.
Work Uniforms
Creating consistent, branded work uniforms can enhance your company’s professional image. Screen printing is ideal for producing high-quality, durable uniforms that employees can wear proudly. Whether it’s a simple logo on a polo shirt or a more complex design on a work jacket, screen printing ensures your branding is clear and long-lasting. Uniforms not only promote a sense of unity and professionalism among staff but also make your brand easily recognizable to customers.
Branding Awareness
Screen printing is a fantastic way to boost brand awareness. By printing your logo and brand messages on everyday items, you turn ordinary objects into marketing tools. Consider screen printing on items like notebooks, water bottles, and even phone cases. These branded items serve as constant advertisements, helping to reinforce your brand in the minds of your audience. Additionally, well-designed and useful promotional items can generate word-of-mouth marketing as people use and share them in their daily lives.
Special Events
Special events provide a unique opportunity to create memorable, custom-printed items. Whether it’s for a corporate event, charity fundraiser, family reunion, or community festival, screen printing allows you to produce themed t-shirts, banners, and other items that commemorate the occasion. These custom prints not only enhance the event experience but also serve as lasting keepsakes for attendees. Screen printing ensures that your event stands out and is remembered long after it’s over.
In Conclusion
Screen printing is a fantastic way to bring your creative vision to life. From the thrill of seeing your design come together on the screen to the satisfaction of holding your finished product, every step of the process is enjoyable.
So, what are you waiting for? Collect your screen printing essentials and allow your imagination to be your guide. Embrace the process, experiment with designs, and watch your creations come to life. Who knows where this newfound passion might lead you – perhaps to a fulfilling hobby or even a successful entrepreneurial pursuit. The screen printing world is yours to conquer!
Remember, whether you’re a seasoned pro or a complete newbie, there’s always something new to learn and create with screen printing. So don’t be afraid to experiment, make mistakes, and have fun along the way. Happy printing, my friend!
